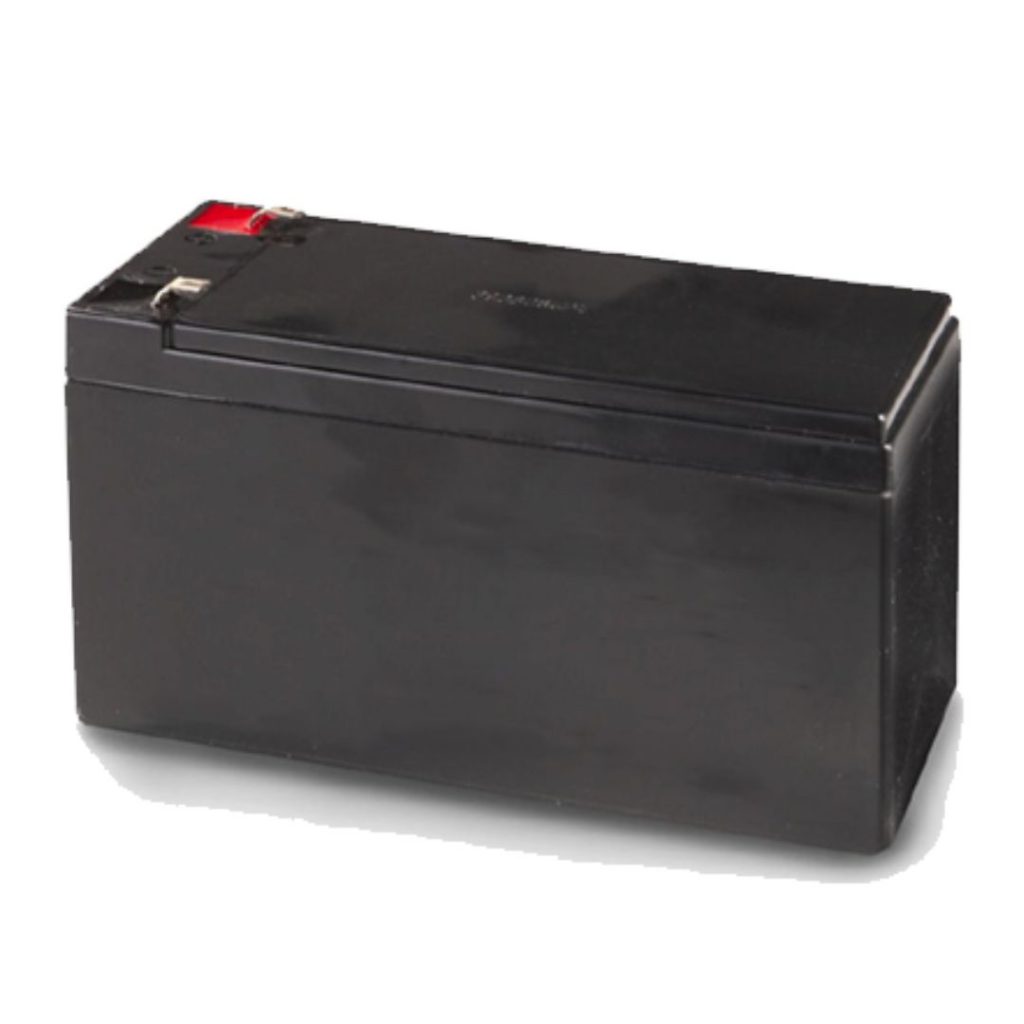
How to replace the batteries
Please follow the following steps to replace your system’s back battery:
Place your system on test.
Before changing the batteries, log into your Guardian account or call 1.800.PROTECT (1.800.776.8328) to place your system on Test Mode. This ensures Guardian doesn’t accidentally notify the authorities
Locate your panel box.
Locate and open the main control panel box. The panel box is typically located in a basement, closet, or utility room. Your panel box may have a door secured by a lock and key, or by screws.
Locate the panel battery, typically at the bottom of the panel box.
Examine the battery for any abnormalities (e.g., the battery has a swollen or split case; there is liquid leaking from the case; the terminals are corroded; or the battery is hot.) If there are any abnormalities to the battery, please close the panel box and contact a Guardian representative to schedule a service call.
PLEASE NOTE: This battery may be larger than the existing battery in your control panel. The larger battery was shipped to provide a longer battery backup to your system during power outages.
Disconnect and remove the battery.
Disconnect the black wire connector from the negative (−) battery terminal, then disconnect the red wire connector from the positive (+) battery terminal.
TIP: You may need to use a pair of pliers with electrically insulated handles. You may need to wiggle the connector slightly for it to come loose.
Remove the old battery from the control panel box.
WARNING: Do not touch any metal objects to the terminals on the battery or to the open end of the black and red wire connectors.
Connect the new battery.
Connect the red wire to the red (+) terminal, and then connect the black wire to the black (-) terminal of the new battery by pushing the connector firmly onto the terminal
TIP: If the replacement battery does not have a red or black terminal, look at the top of the battery for a terminal next to a (+) positive or (-) negative sign.
Close the panel box, securing any screws or turning the key to lock it.
Check your panel.
The low battery condition should clear when the panel sees that the new battery has been installed and is fully charged. If the low battery notification does not clear from your system’s panel right away, allow 24 hours for the new battery to fully charge.
Test your system.
Test your system to make sure everything is working properly.
Return to your online Guardian account or contact us at 1.800.PROTECT (1.800.776.8328) to verify the test signals and to remove your system from Test Mode.
Download the step-by-step instructions here:
