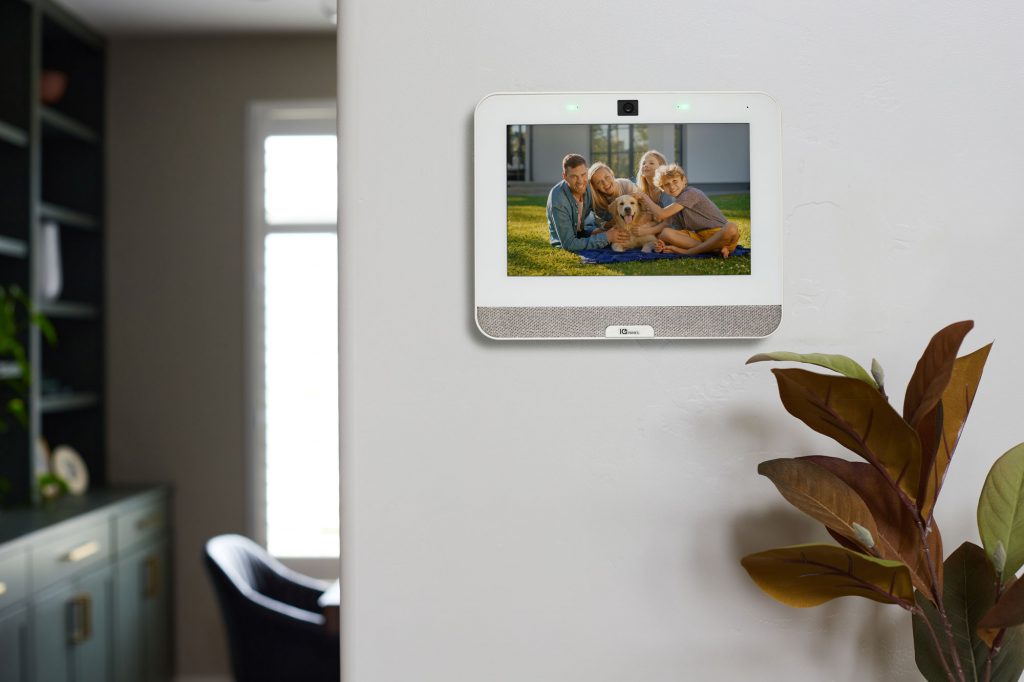
Customizing your panel’s pictures is an easy way to personalize your home security system!

Please note: This feature is only available for those with IQ4 panels (shown above).
You can upload pictures of your loved ones and other great memories to your IQ4 panel by using the steps below:
- Find the pictures you want to feature in the recommended max size of 800 by 400 px
- Access the settings menu on your panel
- Swipe down from the top of the screen
- Tap the Photo Frame icon
- Tap the Add Icon
- Select AP Panel from the dropdown menu
- Tap on Start to initiate the server on your security panel
- Use the camera on your mobile device to scan the first QR code to connect your device to the wifi access point on the security panel
- Once your device is connected, scan the QR code
- Select Choose Files and choose the photo(s) that you want to add to the security panel
- Tap on Add
- Tap Send Image Files
- Tap Stop on the panel to turn the server off
Your panel should now have your photos uploaded to it! Enjoy this special touch to your security system.
Please note: This capability is only available to IQ4 panels.
